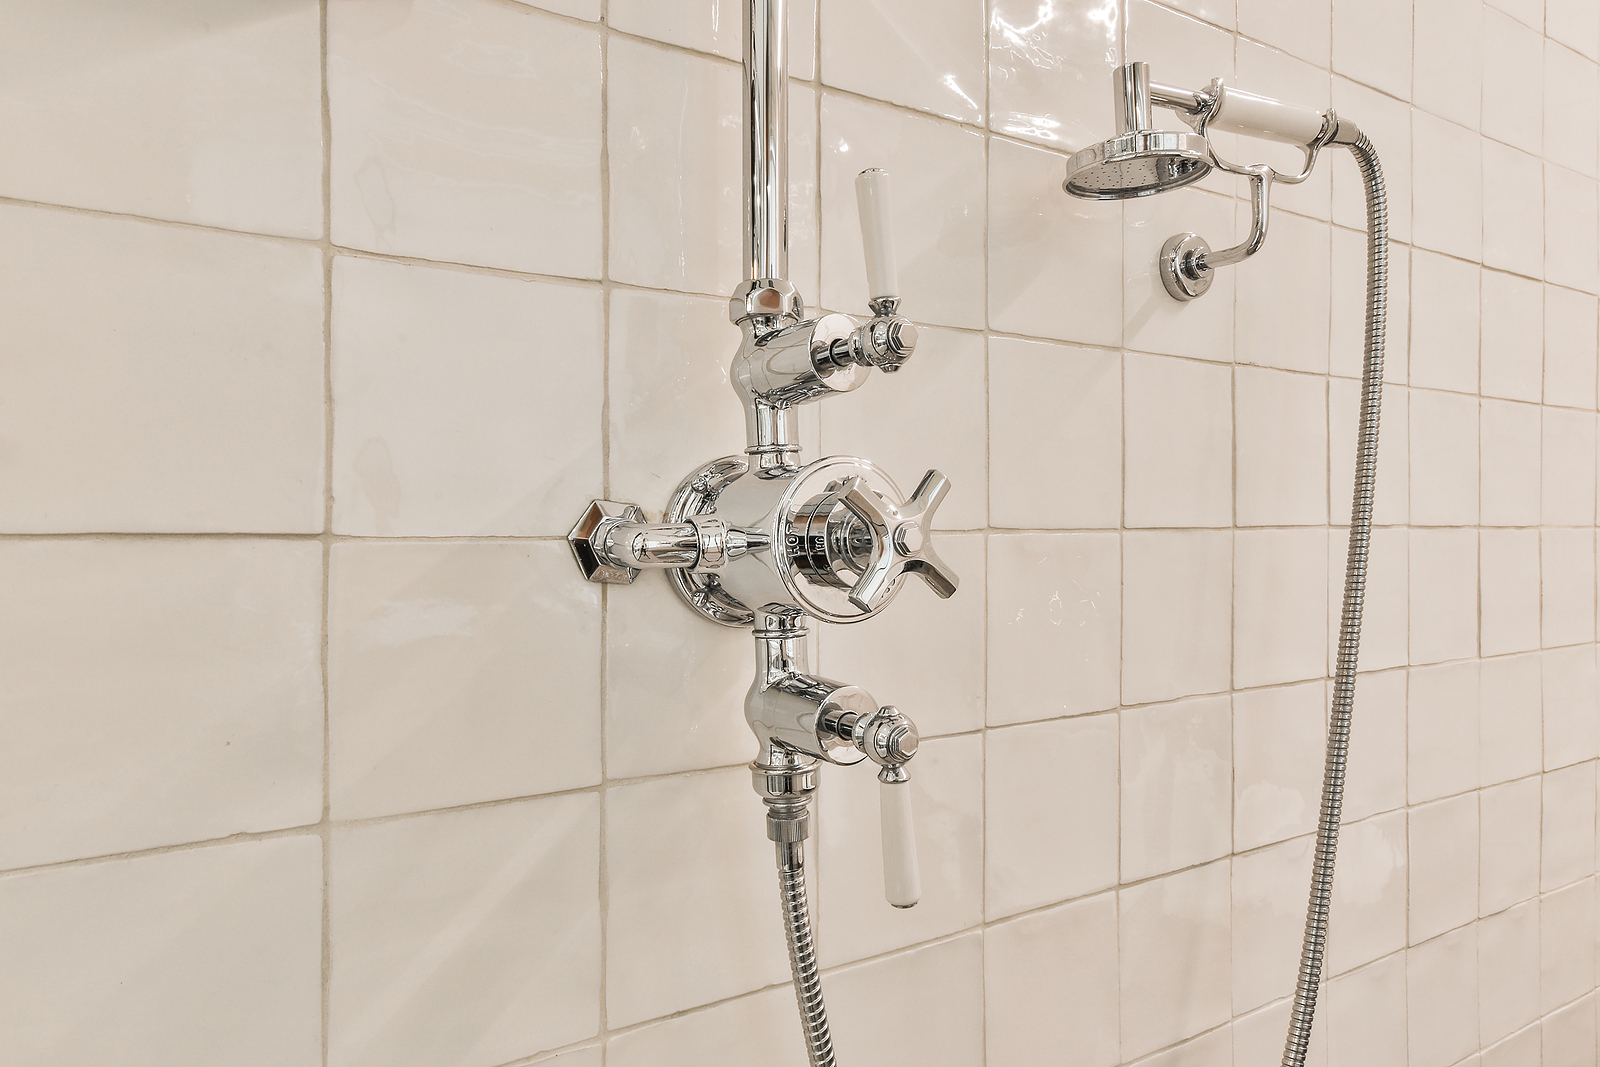
Have you been experiencing issues with your three handle shower valve lately? Do you need an installation or replacement of the same? Well, you're in the right place. In this blog, we'll walk you through installation, repair, and replacement of the three handle shower valve.

Three handle shower valves are common in older homes, and if not properly maintained, they may start leaking or become difficult to turn on or off with time. Here's everything you need to know about installation, repair, and replacement of the three handle shower valve.
Installation
Before beginning the installation process, you need to have the right tools on hand. These include pliers, adjustable wrench, screwdriver, gloves, and pipe tape. Once you have your tools ready, you can start the installation process, which involves the following steps:
1. Turn off the water supply.
2. Remove the old valve by using the adjustable wrench to loosen the nuts holding it in place. You'll then need to pull out the valve from the wall.
3. Clean the pipes in preparation for the new valve installation.
4. Install the new valve by sliding the handle onto the valve stem, and tighten the nuts.
5. Attach the shower components, such as the showerhead, spout, and knobs, to the valve.
6. Turn on the water supply and test the shower to ensure everything is working correctly.
Repair
A three handle shower valve may require repair due to leaks or a malfunctioning valve stem. Here's how to repair the valve:
1. Turn off the water supply.
2. Remove the handle by loosening the setscrew.
3. Remove the escutcheon plate by unscrewing it from the valve body.
4. Using pliers, pull out the valve stem.
5. Inspect the valve stem and replace it if it's damaged.
6. Replace the washer and o-ring to prevent leaks.
7. Reassemble the valve and test it.
Replacement
If your three handle shower valve is old or damaged beyond repair, it's time to replace it. Here's how to replace the valve:
1. Turn off the water supply.
2. Remove the old valve by using the adjustable wrench to loosen the nuts holding it in place. You'll then need to pull out the valve from the wall.
3. Clean the pipes in preparation for the new valve installation.
4. Install the new valve by sliding the handle onto the valve stem, and tighten the nuts.
5. Attach the shower components, such as the showerhead, spout, and knobs, to the valve.
6. Turn on the water supply and test the shower to ensure everything is working correctly.
Conclusion
In conclusion, installing, repairing, or replacing a three handle shower valve may seem daunting, but with the right tools and instructions, it's an easy process. If you're not up to the task, you can always hire a professional plumber to do it for you. Remember to turn off the water supply before handling the valve to avoid any accidents. We hope that this blog has been helpful in guiding you through the installation, repair, and replacement of the three handle shower valve.